Room math, layout lines, and the last-row check.
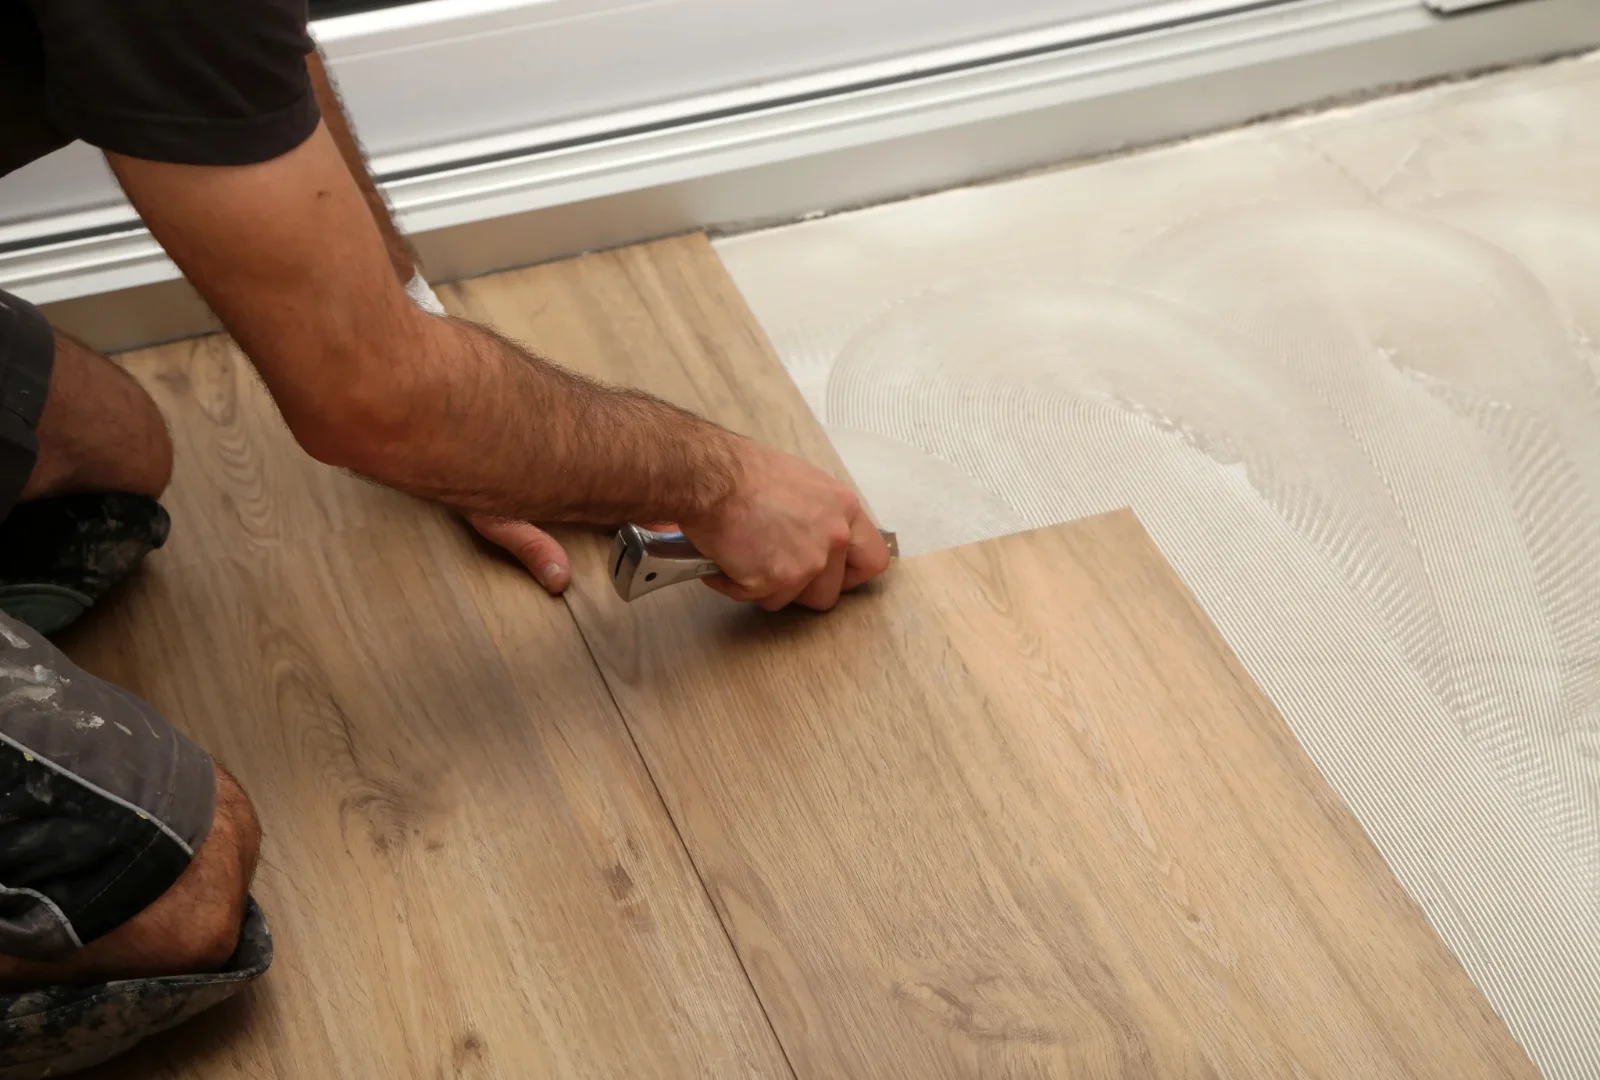
Installation guide
The install manual, start to finish.
Six chapters from carton to baseboard. Work them in order, check them off as you go, and the floor — and the warranty — take care of themselves.
Rule zero
Inspect, acclimate, moisture test — then install.
Warranty terms
Never install visibly defective material. Save carton labels, site notes, and photos with the order record — that paperwork is your warranty.
Confirm the product before work begins.
Check style, color, quantity, and carton condition the day the order arrives — not install day. Save carton labels, order records, and photos with your warranty documentation.
- Acclimate flooring onsite for at least 48 hours, in a climate-controlled environment
- Blend planks from several cartons for a natural, even layout
- Report visible defects before installation — installed planks are accepted planks
The subfloor decides how good the floor feels.
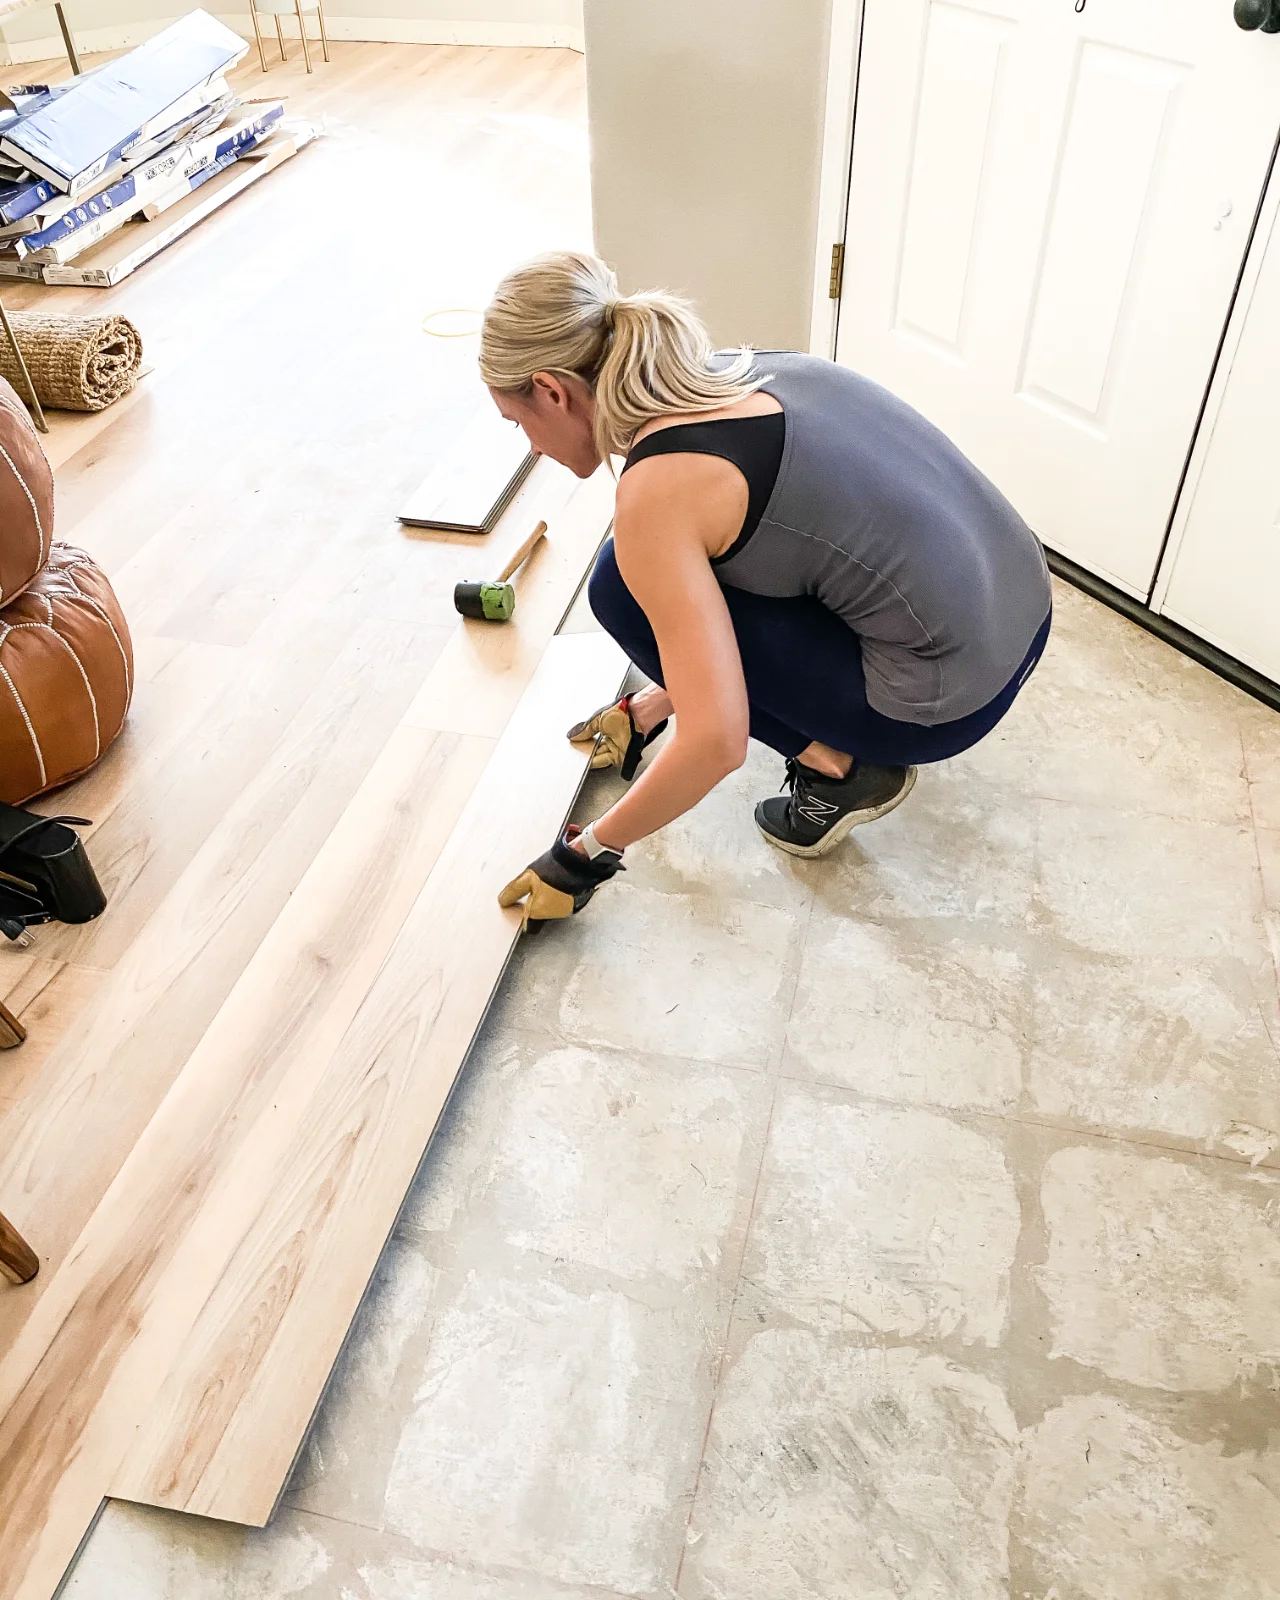
Hard, sound, clean, smooth, flat, and dry — all six, no exceptions. Flat means within 3/16″ over an 8-foot span: correct dips, high spots, adhesive residue, debris, and movement first. An uneven subfloor makes a floating floor sound hollow, flex, or unlock.
- Flat within 3/16″ over an 8-foot span — verify before the first row
- Never install over existing hardwood flooring
Skip the extra padding. Our planks ship with an attached 1.5 mm pad. Additional underlayment isn't approved by the manufacturer — it can damage the locking system and may void the warranty.
Moisture problems come from below.
A rigid waterproof core shrugs off spills from above — it can't stop vapor from underneath. Test and document concrete and wood substrates before installing. New concrete must be fully cured.
- Over concrete subfloors, install a 6 mil moisture barrier
- Moisture test every substrate, and keep the readings with your records
- Fix hydrostatic and drainage problems before flooring, not after
- Indoors only — dry, climate-controlled spaces
Plan the layout before you lock a joint.
Dry-lay a few rows first. Start from a straight wall, stagger end joints so the pattern reads naturally, and check that the last row won't end in a sliver.
- Keep a minimum 1/4″ expansion gap at every wall and fixed object
- Use transition moldings at exterior doors and thresholds
- Undercut door jambs so planks slide underneath cleanly
- Cabinets and permanent fixtures go in first — never on top of a floating floor
Lock the floor together, row by row.
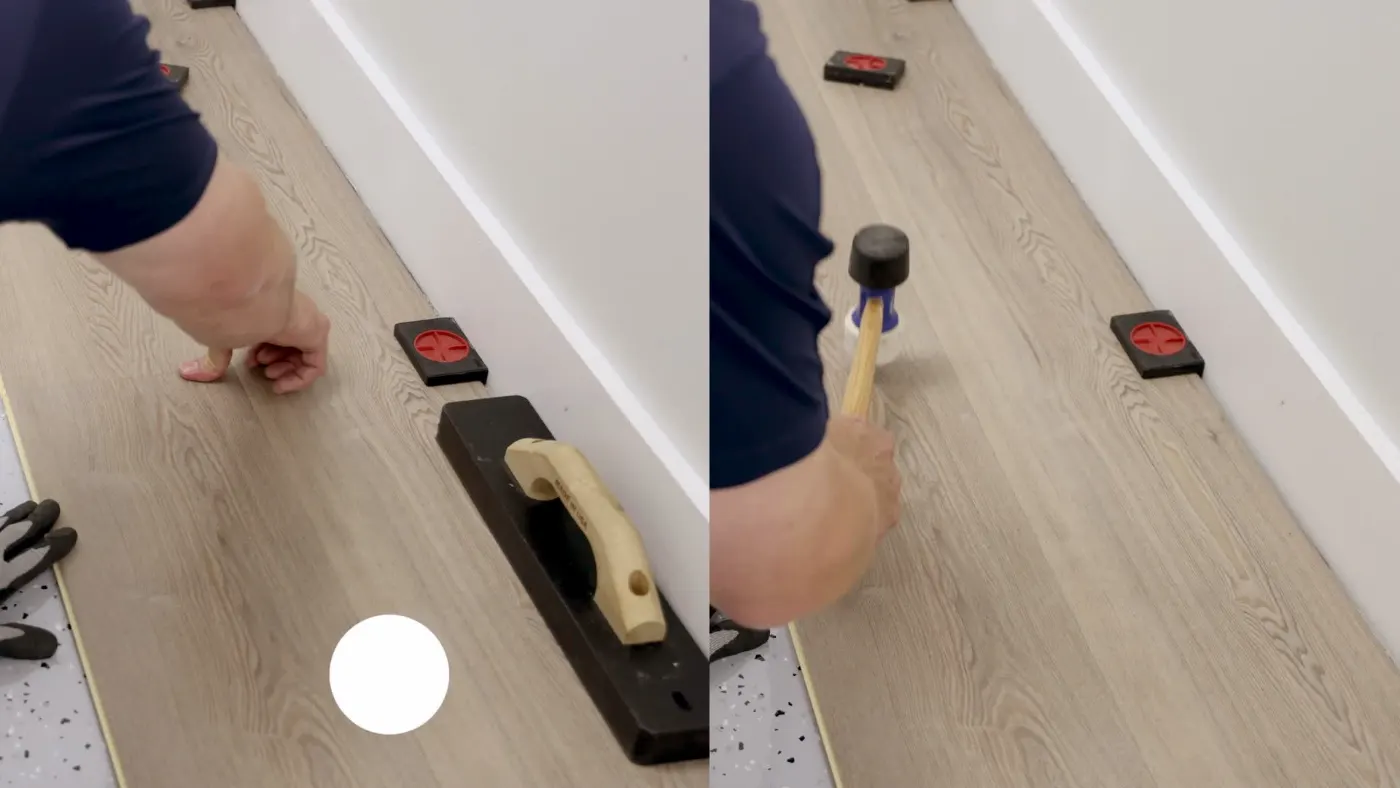
Use spacers against the walls, engage each plank fully before moving on, and tap joints closed with a tapping block — never a bare hammer on the plank edge. A pull bar closes the last plank in each row.
Glue is the exception, not the rule. Planks are never glued down — except where specifically required for stair treads and transition pieces. Stairs also need stair nose and trim per the product guidance. Ask us before ordering for stairs.
Finish the edges, keep the leftovers.
Reinstall baseboards or trim without fastening through the flooring — the floor needs to move freely under it. Then keep the extra cartons: attic stock from the original production run is the best match you'll ever get for a future repair.
- Trim attaches to the wall, never through the plank
- Felt pads under furniture, walk-off mats at entries
- Store attic stock flat, indoors, away from moisture
Have these on hand
The tool list is short.
Five tools, one bucket. If it's not on this list, the click-lock install doesn't need it.
Hold the 1/4″ expansion gap at every wall.
Tap joints closed — never a bare hammer on the edge.
Closes the last plank in every row.
Rips, notches, and door-jamb undercuts.

DIY or pro
Confident click-lock installs are DIY-friendly.
Many of our floating floors go down beautifully for a careful DIYer with the right prep and patience. For stairs, glue-down, large connected spaces, or a tricky subfloor, a professional installer is worth it.
Either way, order a little extra for cuts, closets, and future repairs — and keep the leftover cartons as attic stock.
Ask us about your projectWhoever installs it
Nine requirements. The warranty rides on them.
Every chapter above follows the manufacturer's requirements. The full list — and the installation disclaimer — lives on the warranty page.
Not sure about your room?